Nothing puts a damper on an outdoor gathering like cobweb-covered tables and dirty chairs. Thankfully, you don’t need to buy replacements just yet. This is where patio furniture restoration comes in. Read this guide for tips on making your wood or plastic furniture look brand new. Or skip ahead for instructions on how to reupholster cushions for a fresh finish.
Patio Furniture Restoration
First, you need to assess the condition of your furniture. Are you dealing with dirt, mildew, stains, or discoloration? Once you know what problem you’re tackling, you can begin the restoration process. Your solution depends on the material of your lawn furniture.
How to Restore Outdoor Wood Furniture
There’s nothing better than a sunny day, but too much exposure can cause damage to your wooden furniture over the years. One way to slow this down is to add outdoor shade options around your seating area. However, wood still requires a bit of maintenance over time to keep it looking new.
Don’t worry! The process for how to restore outdoor wood furniture is pretty simple.
Here’s what you’ll need:
- Power washer or pressure hose
- Sandpaper or electric sander
- Clean cloth
- Work gloves
- Exterior wood stain
- Wood sealer
- Paintbrush
- Primer
- Outdoor paint
Step 1: Remove the Old Finish
Over time, the weather will loosen the original finish on your wood furniture. Fortunately, this makes it easier to remove when you’re ready to restore your pieces!
Start by cleaning and prepping the surface. Some furniture may just need a wipe down, while others require something a little stronger. You can use a power washer or pressure hose to remove heavy coatings of dirt and debris. But be careful not to set it too high and damage the wood. Let it dry completely and then move on to sanding.
You can do this by hand or with an electric sander to speed things along. Go with the grain whenever possible, removing any splinters, rough patches, and flakes of paint. This smooths the surface and opens the pores of the wood so it will absorb the new stain. Once the old finish is gone, wipe the furniture with a damp, clean cloth to remove leftover dust.
Step 2: Add a New Coat of Stain or Paint
Next, you need to decide whether to paint or stain your outdoor furniture set. Both are attractive options. Paint gives you more creativity with color, while stain enhances the natural beauty of the wood.
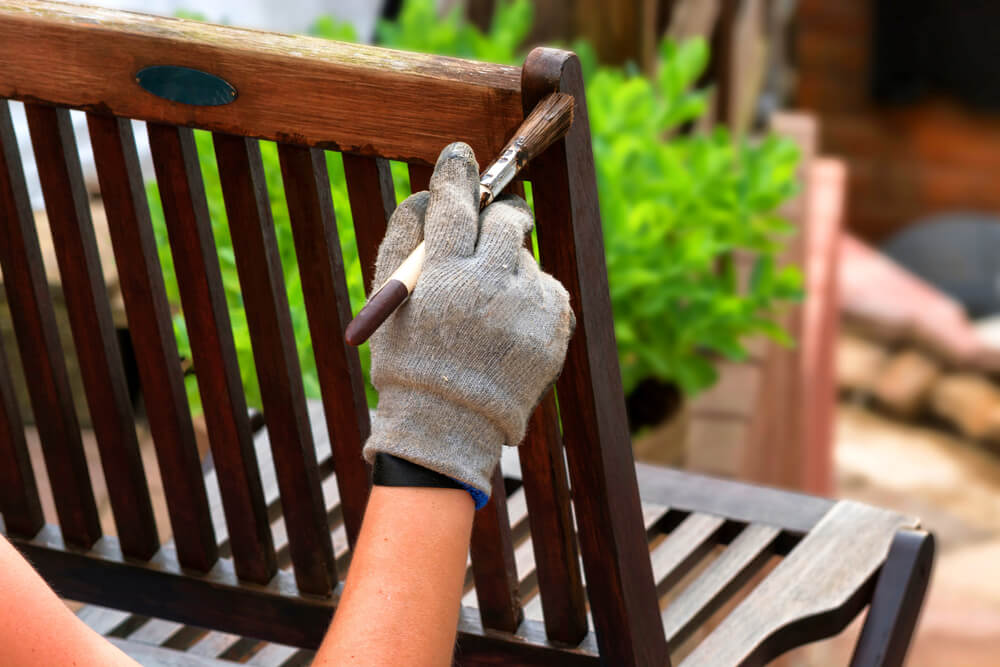
While wearing gloves, apply your stain, following the instructions on the back of the container. We recommend wiping a thin layer onto the wood with a rag and only using a brush for small corners and tight spaces. This helps you achieve a smooth finish with no drips or runs.
How long you let the stain sit and the number of coats depends on the stain you’re using. Make sure to wipe off any excess to achieve an even color.
Maybe you’d rather go bold. In that case, painting your pieces is probably the better choice. Start with a primer to help your paint job last longer. Your local hardware store can provide you with recommendations on what primers and paints work best on outdoor furniture.
Step 3: Let it Dry
The last step to wooden outdoor furniture restoration is to let everything thoroughly dry. Make sure to keep your furniture out of the rain or any other wet conditions for several hours. For more protection on any stained pieces, you can add a sealer to finish the job.
Now all that’s left is admiring your handy work! Your furniture will look and feel so good that you may not want to go back inside.
Is your patio still missing something?
Add a pergola or pavilion for some added shade and visual interest.

How to Restore Outdoor Plastic Furniture
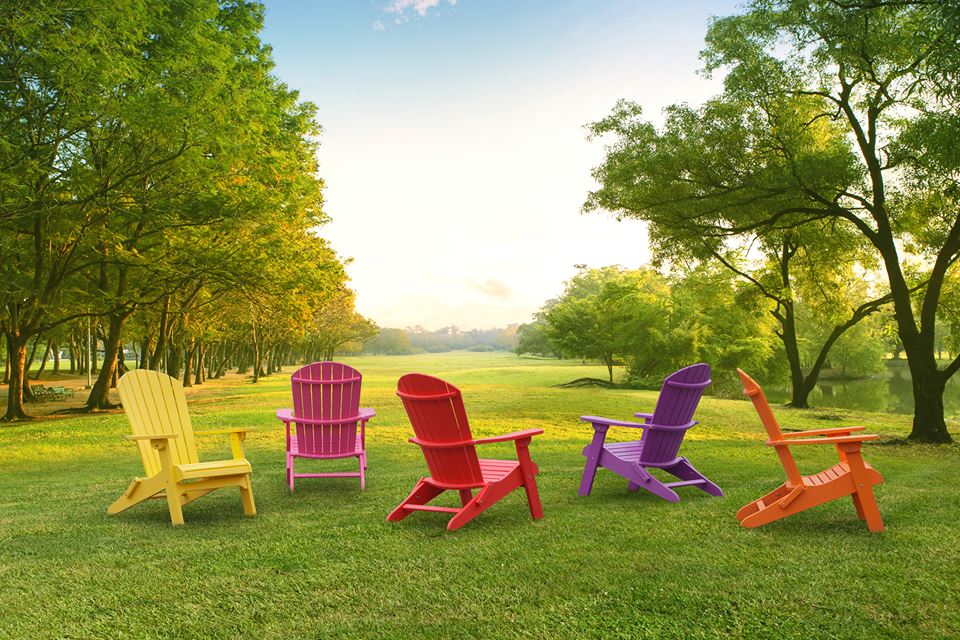
Your plastic or poly chairs may have seen better days. But with a little bit of care, you can revitalize them for another year. Transitioning your patio from one season to another is the perfect time to tackle this project.
Here’s what you’ll need:
- Cleaning brush or rag
- Garden hose
- Baking soda
- Soap
- Power washer (if needed)
- Fine-grit sandpaper (if needed)
- Car wax
Step 1: Clean the Surface
Grab a soft brush or a dry rag and start removing cobwebs and dirt from your furniture. Once the loose debris is gone, grab your hose and put it on a high-power spray setting. Now all you have to do is knock any dirt loose from those tight corners and hard-to-reach spots.
Step 2: Break Out the Baking Soda
Still have a few stubborn stains? Get a little help from some baking soda. Clean the plastic with soapy water, sprinkle some baking soda on top to create a paste, and wipe it down a second time. For small areas, grab an old toothbrush and do the same.
Since baking soda isn’t a harsh chemical, you don’t have to worry about damaging the material. After the stains are gone, rinse the furniture one last time.
Step 3: Consider a Power Wash
Some dirt may be so deeply ingrained in the plastic that none of the steps above can get rid of it. In that case, you may need to up your patio furniture restoration game. When power washing your furniture, test a few gentle settings to see which removes dirt the best without damaging the material.
Be careful—if you set the power washer too high, you may accidentally cut grooves in your furniture. To find the right setting, we suggest testing them on the underside of your furniture, so any damage that occurs is hidden.
After you’re done, run a hand over the furniture to see if there are any rough areas. This just means your power wash removed a little bit of plastic from the top layer. Luckily, this is an easy fix! Just sand your furniture with a piece of fine-grit sandpaper to smooth it over.
Step 4: Add Wax
Want to protect your poly furniture from further damage? After your pieces are clean and dry, you can add car wax. Just pick up the kind you want from your local hardware store, apply some to a cloth, and buff the surface of your furniture.
This wax creates a barrier between your furniture and unwanted debris. It repels moisture, protects against UV rays, and keeps your pieces looking brand new. Once the wax has set, you’re ready to start entertaining with ease.
How to Clean Your Pillows and Cushions
Now that you’ve mastered wood and plastic outdoor furniture restoration, it’s time to tackle the cushions.
Here’s what you’ll need:
- Vacuum
- Soft brush
- Dish soap
- Vinegar (if needed)
Step 1: Remove the Covers
First, check if you can remove the covers on your cushions. Read the care label to make sure you don’t ruin the material. Machine wash them if allowed, or stick with handwashing for a gentler option.
Step 2: Deep Clean
If the covers can’t be removed, then you’ll need to take a different route. Start by vacuuming the surface with an upholstery attachment, getting into the grooves and seams where dirt builds up. Then scrub lightly with soap and water. For deeper stains, you can use a vinegar and water solution. Once it’s clean, rinse thoroughly and let it air dry, squeezing out the excess water.

How to Reupholster Outdoor Furniture
The final step to your patio furniture restoration is giving your cushions a refresh. Dressing up your old pieces with new fabric can make a big difference. If you’re handy with a sewing machine, check out this tutorial for how to make your own cushion covers. Not skilled at sewing? No worries! Keep reading for our no-sew reupholstering tips.
Here’s what you’ll need:
- Outdoor fabric
- Measuring tape
- Upholstery glue
Step 1: Take Measurements
Start by measuring your seat or the existing cushions. If needed, you can disassemble the current cover and use that as a starting point. Make sure you add on a few extra inches to give yourself some wiggle room while creating. If you’re having trouble, take your cushions to your local fabric store and ask for help selecting the right amount.
Step 2: Choose Your New Fabric
Now we’re at the fun part of reupholstering patio furniture—picking out your new fabric. Make sure you choose an option that is designed to handle the weather. Outdoor fabric is usually thicker and made of synthetic fibers like polyester or acrylic. It’s also treated with chemicals to help it repel water and resist fading.
Step 3: Cover Up the Old Fabric
For our no-sew folks, all you’ll need for this step is some kind of upholstery glue. This can include hot glue or spray adhesives. First, carefully remove the old fabric if you’re able. You may find that some of the old glue is still sticking to the cushion. Peel off what you can and leave the rest.
Next, wrap your new fabric around the cushion in the same way you’d gift wrap a box, tucking in the edges and then gluing them down. Make sure the seam where you’re connecting the pieces is on the bottom side of the cushion.
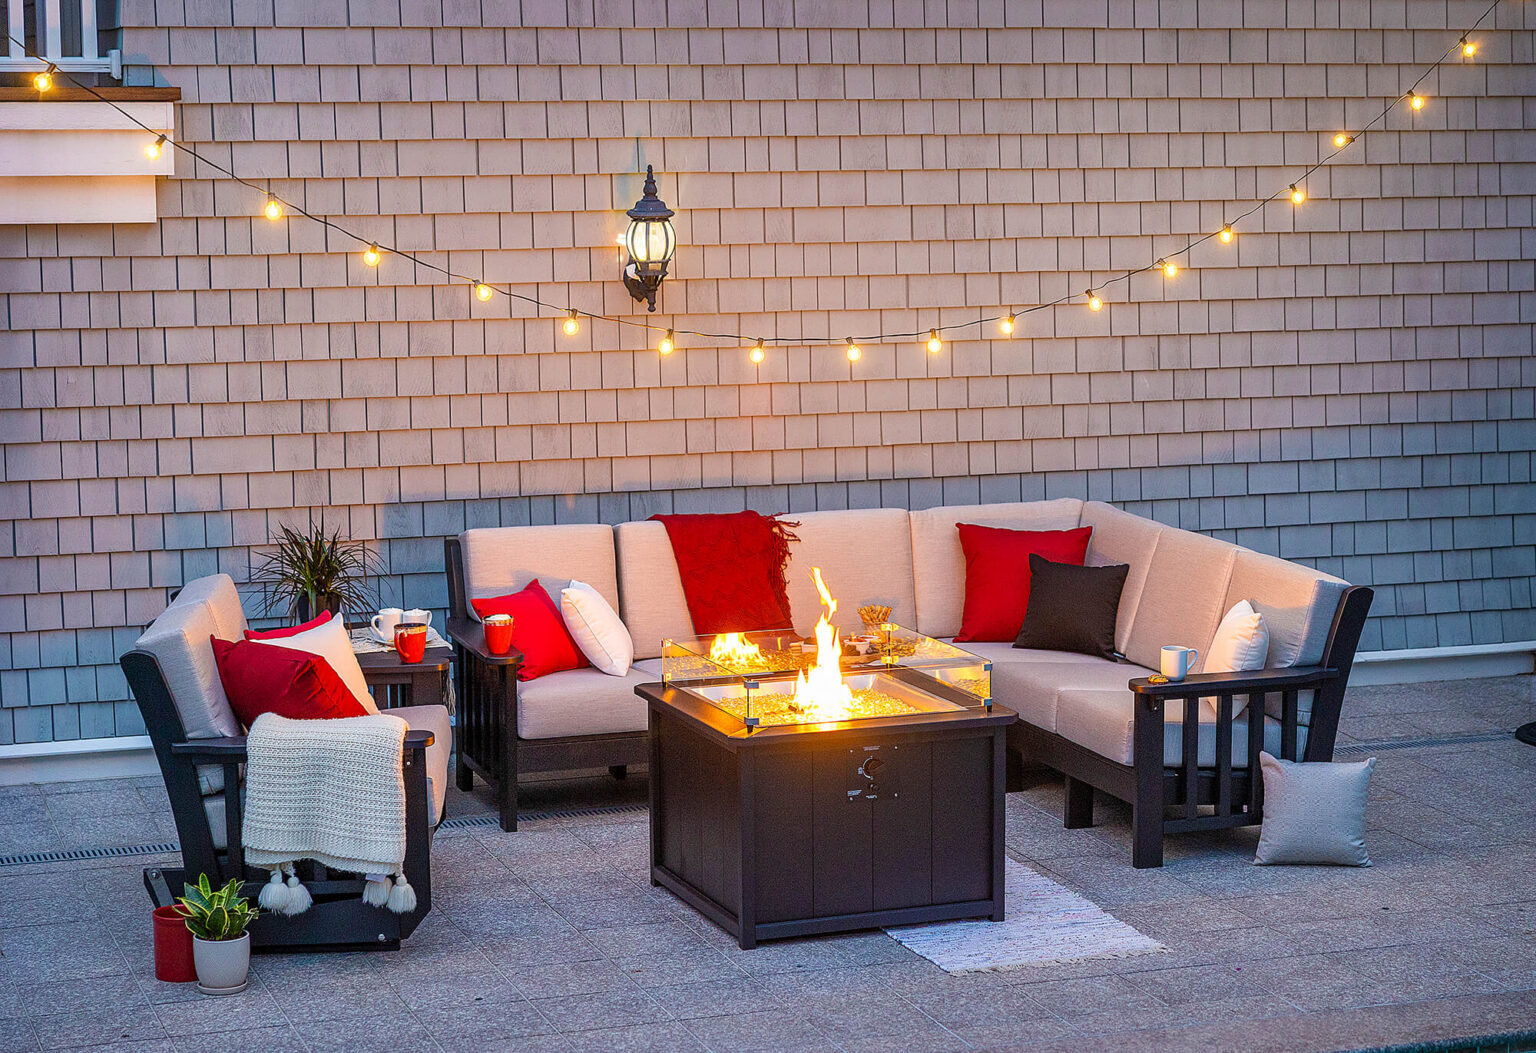
Follow these steps for all your cushions until they are reupholstered to your liking. Then you can sit back and enjoy your furniture that looks as good—if not better—than the day you got it. For a finishing touch, add some outdoor throw pillows and a blanket to cozy up the space.
Patio Furniture Maintenance Tips
So far you’ve learned how to restore outdoor wood furniture, plastic furniture, and cushioned furniture. But how can you keep your pieces in good shape all year long?
First, make sure you clean up any spills or dirt immediately so it doesn’t stain. Try to spot-check your furniture every few weeks to make sure it’s looking okay. And always give it a deep clean before storing it away for the season.
Secondly, remember to protect your patio furniture over the Winter. This involves cleaning, coating, and storing your furniture effectively. When stacking your chairs, remember to put something between each one so they don’t scrape the paint or finish. You wouldn’t want to ruin all your hard work in your patio furniture restoration!
If you need a place to store your pieces in the off-season, our sheds and detached garages are the perfect solution. And while you’re at it, check out our coupons (updated monthly) to save on storage structures and other products.
Is Your Furniture Beyond Repair?
Check out our collections of wood and poly patio furniture, and consider investing in a new set. Our pieces are durable and easy to maintain, so you can enjoy using them for many years to come!