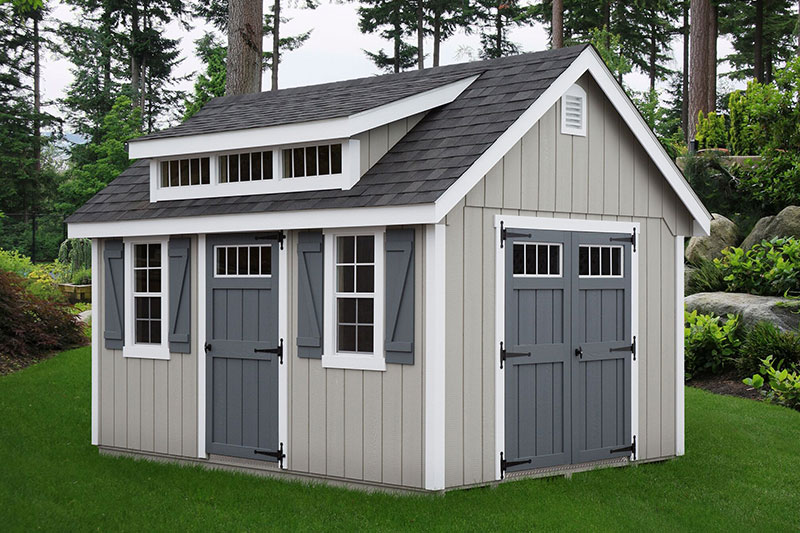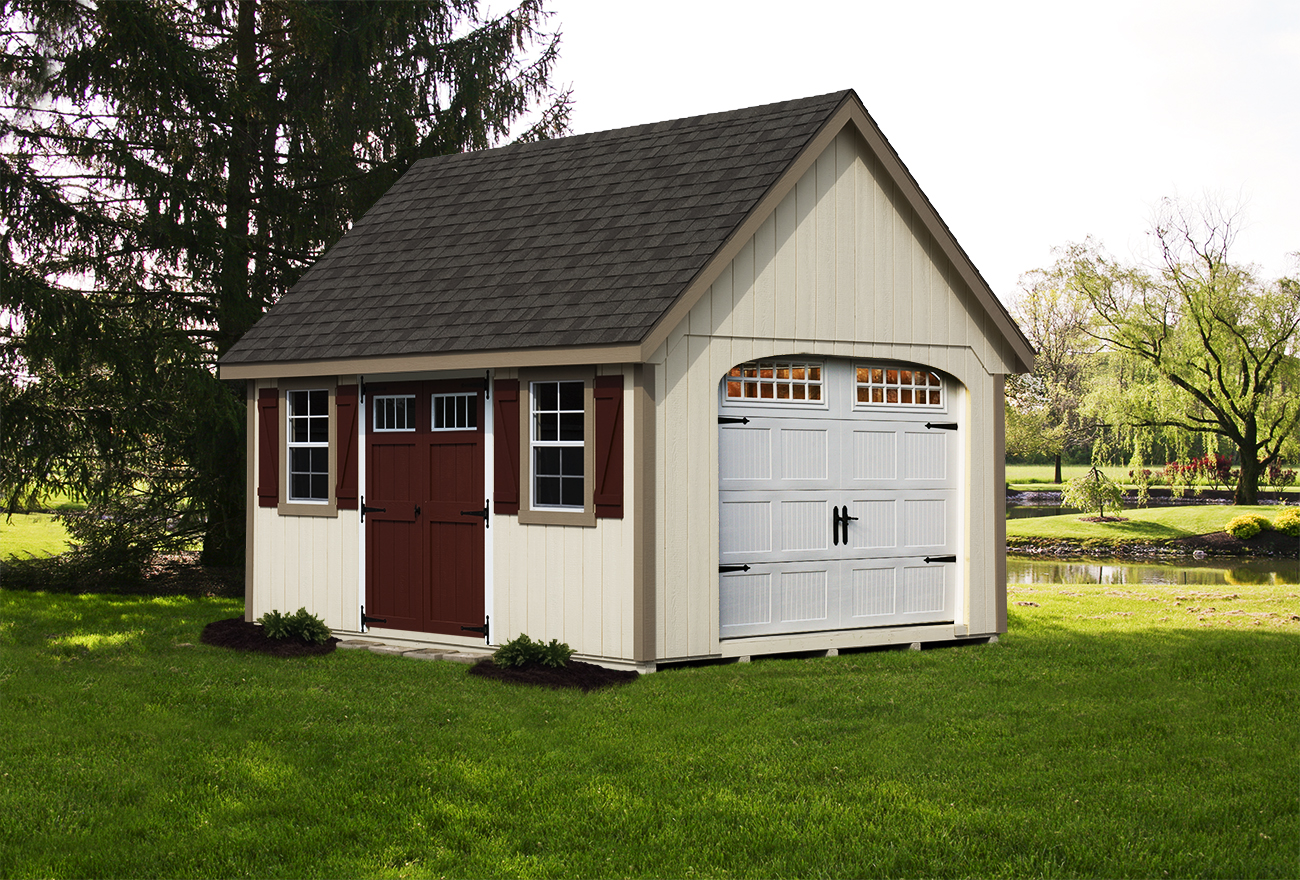
Shed renovations are becoming more popular for homeowners because of the many benefits they offer to your outdoor space. Not only do shed upgrades boost your curb appeal, but they give you more space to use without undergoing a huge and costly home remodel. In this blog, we’ll review how you can begin your backyard shed remodel in three simple steps
1. Plan Ahead
In order for your shed renovation to run smoothly, you should make sure you have a plan in place. People choose to remodel their sheds for numerous reasons. You may be looking for a more suitable storage area or a new place to unwind.
No matter what you decide, you’ll need to do some research to ensure you’re getting everything you want. Try asking yourself some basic questions to help you decide what your end goal is:
- What’s your remodeling budget?
- What things do you like that you want to keep?
- What things do you dislike that you want to get rid of?
- What will be your main use for this shed?
- Will you be doing this yourself or getting outside help?
Once you have answers to these questions you’ll be able to begin making a more detailed plan for your shed upgrades. You may want to have a specific design or layout for the shed or a list of products you’ll need to pull it all together.
Make sure you’re being realistic about your project. It’s important to have a grasp on how big or small the remodeling will be, that way you won’t run into any surprises along the way.
2. Clean & Organize
The next step in your shed renovation project is to clean your space and keep things organized. You can’t begin redoing a shed if it’s dirty or cluttered.
The first thing you should do is remove all of your belongings from the shed and take inventory. We often forget about items we have stored away so if you find certain belongings that have no use to you, try recycling them or dispose of them in the proper way. After you’ve narrowed down which items you’ll be keeping, it’s time for you to clean your shed.
It’s important to clean the interior and exterior of your shed. This will not only work as preparation for your upgrades, but it will also ensure your structure is looking clean and new. Below we’ve listed some basic shed cleaning tips that can help when cleaning both the inside and outside of your shed.
Exterior shed cleaning:
- Hose off or power-wash the shed siding– If your shed has vinyl siding you should be able to power wash the exterior. If you have a wooden shed that’s painted you may want to consider hosing off the exterior because it won’t be as tough on the siding.
- Scrub off any remaining dirt (if needed)– You can mix a basic cleaning solution using dish soap and warm water to help remove any stubborn dirt or grime.
- Wash windows by hand– If your shed has windows you should get glass cleaner and wipe them down by hand. You’ll want to do this in the interior as well.
Interior shed cleaning:
- Sweep out the inside– Using a broom, sweep out any loose dirt or debris that has built up inside. If you find that your interior is very dirty you may consider using a leaf blower to clean more efficiently.
- Dust– You’ll want to make sure you wipe away any cobwebs, dirt stains, or dust that has accumulated in corners, on shelves, or on the ceiling.
- Eliminate mildew and mold– The build-up of mildew and mold is common in sheds. You can eliminate both by using a cleaning mixture from a hardware store or you can make a mix of your own. The best way to rid your space of mildew and mold is to mix 1 cup of bleach for every gallon of water. Using a sponge or rag you can scrub areas until they’re clean.
Once you’ve finished cleaning the exterior and interior of your shed you’ll be ready to begin your shed upgrades. Remember, keep your belongings outside of your shed space so that you have optimal room to work on your shed renovation from the inside if needed.
3. Start Your Shed Renovation
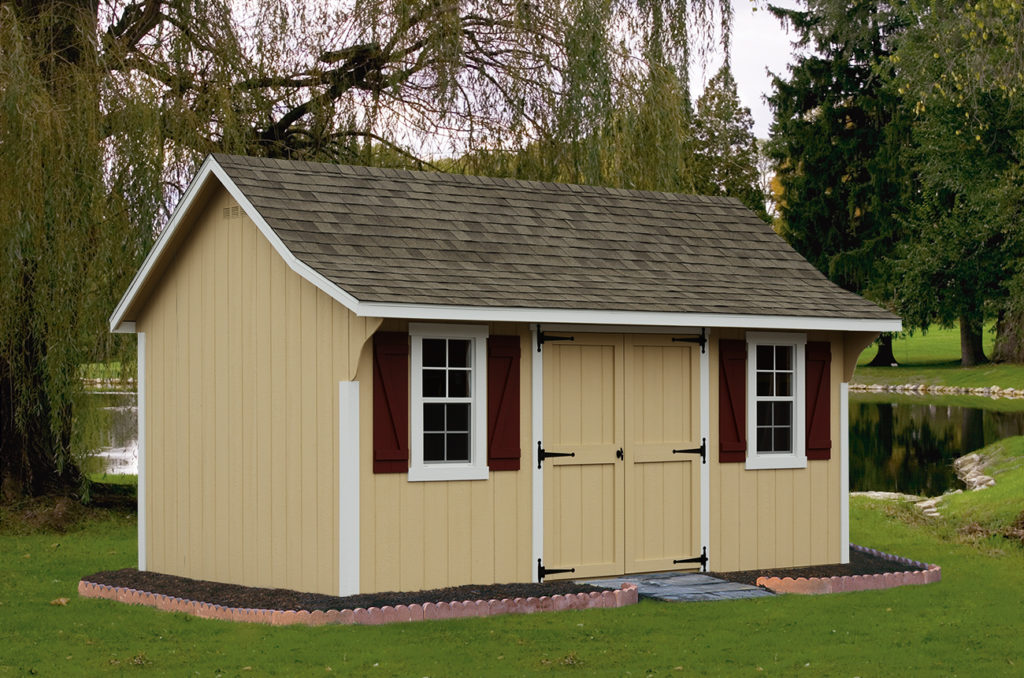
Your shed renovation should focus on functionality and style. Whether it be a she-shed, man cave, hobby space, or an area to hold equipment, there are many different shed remodel ideas you can look to for inspiration. Below we’ve listed some helpful, but simple ways you can start upgrading your shed for any use.
Add a New Coat of Paint
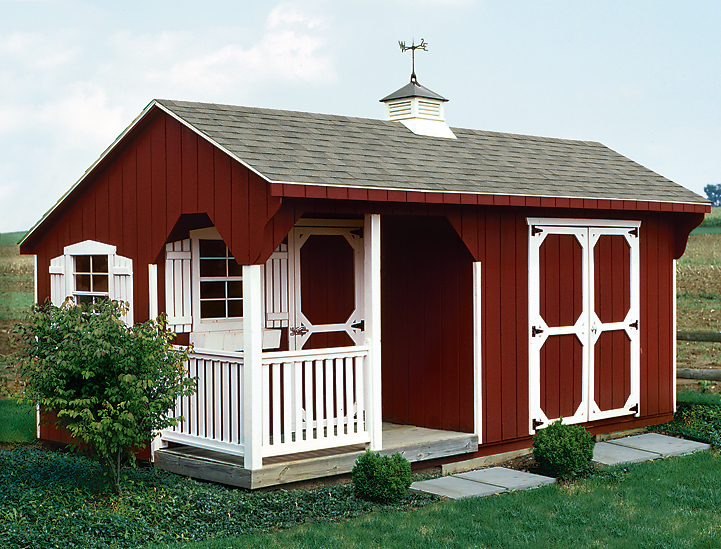
A fresh coat of paint can make all the difference. If your shed is close in proximity to your home you may want to consider using colors that complement your house.
However, if your shed is further away, you can create a whole new color scheme. There are a lot of different garden shed paint color ideas you can choose from. Some of the most popular color combinations include:
- Earthy greens
- Neutral blues
- Vibrant reds
- Subtle grays and tans
- Traditional black and white
Make sure if you are planning on doing the job yourself, you learn how to paint a shed properly. There are a few painting tips and techniques you can follow to ensure your paint job ends up looking like a professional did it.
Check Out Different Shed Siding Options
When it comes to shed siding options the two most popular choices are wood and vinyl. As you compare these, you’ll want to consider a few key factors.
#1. Maintenance and Upkeep
- Vinyl: requires little to no maintenance besides washing the exterior
- Wood: depending on the weather and other elements, you may need to re-paint or re-stain the exterior every 10 years
#2. Budget
- Vinyl: more expensive than wood
- Wood: usually a hundred to a thousand dollars cheaper than vinyl
#3. Lifespan
- Vinyl: lasts 25+ years with no risk of deteriorating from moisture
- Wood: lasts 15-20 years and can be damaged from mold and rot
#4. Style
- Vinyl: offers a sleek look that takes less work to stay in better condition
- Wood: offers a natural look and the flexibility to paint it whatever color you want
Install Better Lighting
Proper lighting can be extremely beneficial, no matter what you’re using your shed for. If you’re renovating your shed to be a cool new hangout place or simply for storage, having suitable lighting will help you navigate your way around your space.
There are many options when it comes to shed lighting. You can install lighting inside and outside your shed. Interior shed lighting comes in a variety of options. Some of the most common types include:
- Incandescent
- CFL (compact fluorescent light)
- LED (light-emitting diode)
Before you choose which type of light is best for your shed, you’ll want to consider a few factors. All lights have different lifespans, which is how long the light source will last. For instance, LED lights usually have the longest lifespans, whereas incandescent lights usually have the shortest.
Another thing to keep in mind is energy usage. LED lights tend to be more expensive than CFL lights, but they use 40% less energy and they don’t get as hot as CFL or incandescent bulbs.
If you’re worried about shed security, you may want to consider installing motion sensor lights on the exterior of your shed. These will allow you to keep an eye on your belongings and limit the number of break-ins you may have. Motion sensor lights can also work to help you navigate your way around your shed’s exterior when it’s dark out.
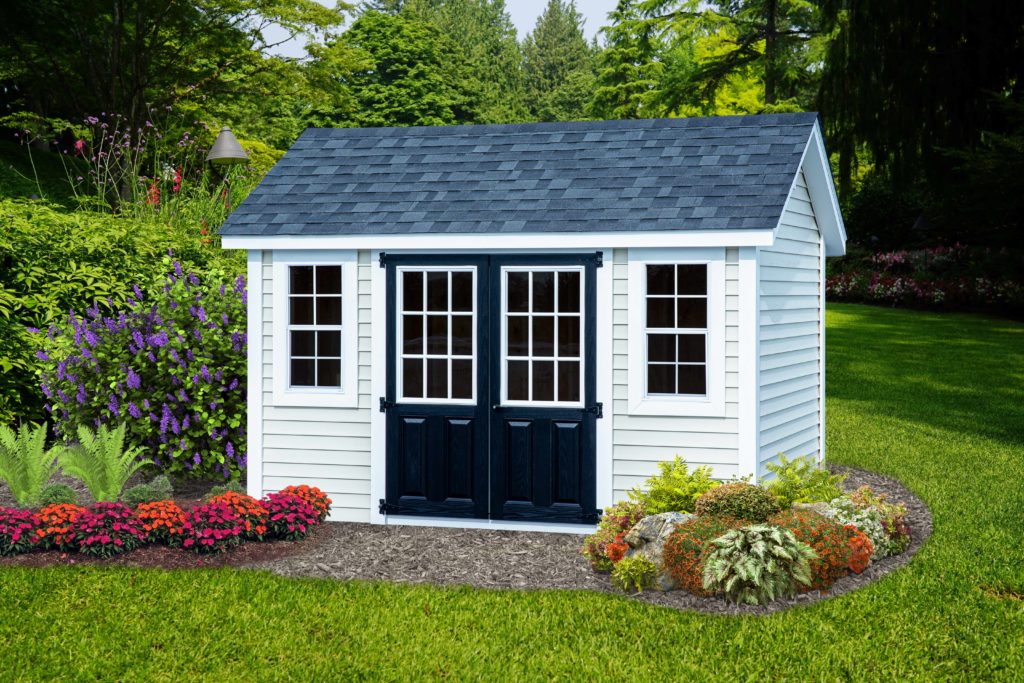
Having a shed in your backyard allows you to have more space. However, purchasing a shed can be a big decision and it requires time to plan. If you’re debating on adding a structure to your outdoor space, make sure to look into some resources that will help guide you through the process of purchasing an affordable and high-quality shed.
Too Much To Renovate?
Check out our wide variety of in-stock or custom-built sheds and start planning your renovation project today!
